
0%

Choosing the right Puncture resistant MTB inner tubes can change a frustrating ride into a controlled, confident one. Sharp flint, thorny trails, and low-pressure impacts challenge every setup. The best choice depends on terrain, riding style, wheel size, tire casing, and pressure range. A tube that survives city debris may feel heavy on a rocky downhill route.

Sheldon Brown, a respected bicycle mechanic and technical writer, wrote, “The tire is the only part of the bicycle that touches the ground.” His point remains useful: protection begins with the complete tire system, not one reinforced component. Puncture resistant MTB inner tubes can reduce common flats, but they cannot defeat every pinch, rim strike, or installation mistake. That limitation matters.

This guide examines seven practical selection points, including tube material, wall thickness, valve design, weight, compatibility, pressure, and trail conditions. It also considers installation details that riders often overlook. A slightly twisted tube can fail before the first serious descent. Small errors matter.

Real-world testing should guide the final decision. Compare tubes on the same wheelset, inspect them after several rides, and record pressure changes. Manufacturer claims provide useful direction, not absolute proof. My own preference would be a durable tube for remote rides, even when it adds a few grams. That choice is not perfect. Racers may reasonably choose lighter protection. Read the details carefully, match the tube to your tires, and treat durability as a balance rather than a guarantee.
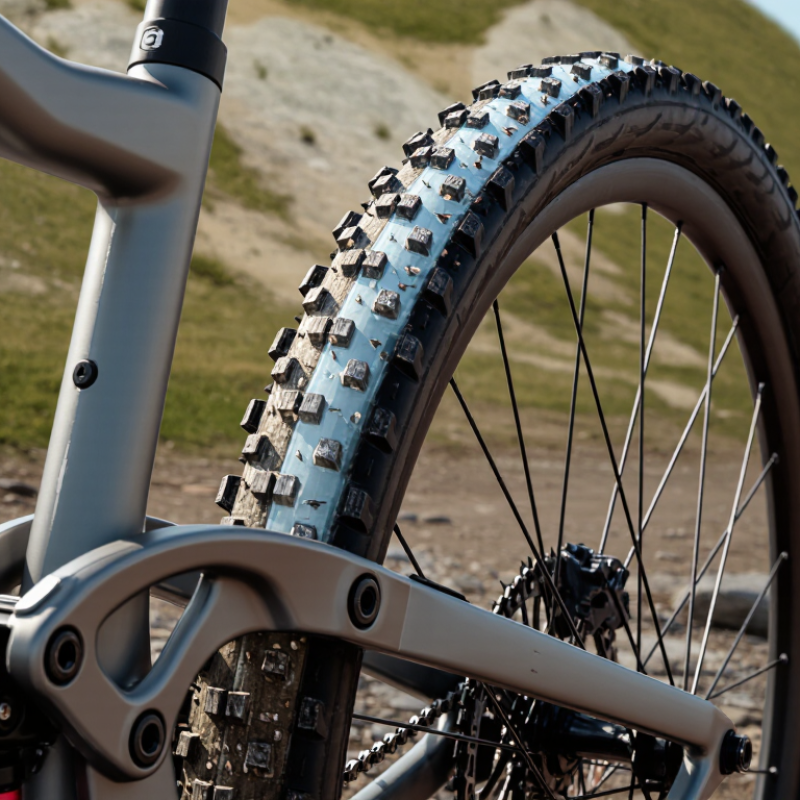
7 Tips for Choosing Puncture Resistant MTB Inner Tubes

Match ETRTO Rim Codes: 622, 584, and 559 mm MTB Standards

Tip 1: Read the ETRTO code on the tyre sidewall before buying a puncture resistant MTB inner tube. The code gives diameter and width in millimetres. A 622 tube fits 700c rims, while 584 matches 650B or 27.5-inch wheels. Code 559 usually means a 26-inch MTB wheel.

Tip 2: Match the width range, not only the diameter. A tube marked 27.5 x 2.1–2.4 suits a different tyre than one marked 27.5 x 2.8. An oversized tube may fold inside the casing. A narrow tube can stretch excessively. Neither choice is ideal.

Tip 3: Check the valve type and length. Presta valves suit drilled rims with small holes. Schrader valves need larger openings. Deep rims may require longer valves. This detail is easy to miss.

Tip 4: Inspect the tube’s construction. Thicker rubber can resist thorns and sharp trail debris, but it adds rotating weight. In muddy, rocky riding, that trade-off may feel worthwhile. On long climbs, you may notice it.

Tip 5: Install the tube carefully. Inflate it slightly, then check that no section sits beneath the tyre bead. I once rushed this step and created a pinch flat before reaching the trailhead.

Tip 6: Keep the ETRTO marking visible during storage. Old packaging can become confusing. Measure twice if the sidewall print has faded.

Tip 7: Test pressure gradually after installation. A puncture resistant tube is not puncture proof. Too little pressure invites rim impacts, while excessive pressure reduces grip on loose ground. My own pressure choice still changes with rider weight and trail conditions.

7 Tips for Choosing Puncture-Resistant MTB Inner Tubes

Match the inner tube to the exact ETRTO rim code first. The bead seat diameter must be correct before considering tube width, valve type, or puncture-protection features.

How to Read the ETRTO MTB Standards

  • 622 mm: Commonly associated with 700C or 29-inch wheel formats.
  • 584 mm: Commonly associated with 27.5-inch or 650B wheel formats.
  • 559 mm: Commonly associated with 26-inch wheel formats.
  • Check the complete tire marking, including the tire-width range, before buying a tube.
  • Choose a tube whose width range overlaps the tire width without excessive stretching.
  • Select the correct valve type and valve length for the rim.
  • For better puncture resistance, combine a correctly sized tube with suitable tire protection and proper inflation pressure.

Select Tube Widths That Fit Common 2.1–2.5-Inch MTB Tires

7 Tips for Choosing Puncture Resistant MTB Inner Tubes

Select Tube Widths That Fit Common 2.1–2.5-Inch MTB Tires

Match the tube diameter to your wheel first: 26, 27.5, or 29 inches. Then check its printed width range. For a 2.1–2.5-inch mountain bike tire, a tube marked 2.1–2.4 or 2.1–2.5 inches usually fits best. Avoid choosing by diameter alone. Width matters.

A tube that is too narrow stretches tightly and may suffer more from pinching. A tube that is too wide can fold inside the tire. Folds create weak spots. I check this during installation by adding a small amount of air before fitting the tire bead. The tube should look round, not twisted or ballooned. Tip three is to confirm the valve type and length match the rim. A valve that barely reaches the rim is frustrating on the trail.

Puncture-resistant tubes are often thicker and heavier, so select one that suits your riding conditions. For rocky paths, inspect the rubber for even thickness and flexible edges. Tip five is to replace damaged rim tape, because sharp spoke holes can defeat a strong tube. Tip six is to inflate gradually and check that no tube appears outside the bead. Tip seven is to carry a correctly sized spare. I once trusted a nearly matching spare; it fitted poorly and slowed a repair. That mistake still deserves attention. Check pressure before every ride, because low pressure increases pinch-flat risk.

Compare Butyl and TPU Tubes by Weight, Durability, and Repairability

Choosing a puncture-resistant MTB inner tube starts with weight, but weight alone can mislead. Independent bicycle laboratory comparisons commonly record TPU tubes at about 30–60 grams, while standard butyl tubes often exceed 100 grams. That difference reduces rotating mass and can make climbs feel slightly easier. However, the same reports show meaningful variation between tube sizes and wall designs. Check actual measured weight, not only the package claim. A 2024 bicycle rolling-resistance test series also found that lower weight does not automatically mean lower rolling resistance.

Durability depends on more than material. TPU resists many small punctures and folds neatly under a saddle. It can also survive repeated installation when handled carefully. But sharp rim edges, twisted valves, or careless tire levers can damage it quickly. Butyl is heavier, yet its elastic body tolerates rough fitting and low-pressure trail impacts better in many workshop experiences. Inspect the rim tape and valve hole first. That small detail prevents frustrating failures.

Repairability changes the decision. Butyl accepts inexpensive patches, and most riders can repair it beside the trail. TPU usually needs a compatible patch system, a clean surface, and careful pressure control. Some field repairs remain temporary. Independent repairability assessments from bicycle service manuals consistently favor butyl for roadside restoration. My own mistake was carrying a lightweight tube without its correct repair patch. It saved grams, then created a long walk. Choose TPU for weight-focused rides, butyl for simpler recovery, or carry both when the route is remote.

7 Tips for Choosing Puncture-Resistant MTB Inner Tubes: Butyl vs. TPU by Weight, Durability, and Repairability
Tip Comparison Dimension Butyl Tube TPU Tube Practical Selection Guidance
1Start with the Correct Size Wheel diameter and tire-width compatibility Common MTB sizes include 26, 27.5, and 29 inches. A tube should match the tire-width range printed on its packaging; excessive stretching can increase installation and pinch-damage risk. TPU tubes are often designed for a narrower stated tire-width range. Correct sizing is especially important because overstretching can create folds or concentrated stress. Match both wheel diameter and tire width. Do not choose a smaller tube simply to save weight.
2Compare Weight Typical mass for one 29-inch MTB tube Approximately 180–230 g for a standard tube, with thicker downhill or reinforced versions commonly weighing more. Approximately 80–120 g for many standard 29-inch MTB tubes. Actual mass varies with tire-width range, valve length, and material thickness. TPU can reduce rotating mass by roughly 60–140 g per wheel in a typical comparison, but weight should not outweigh correct fit and protection needs.
3Evaluate Puncture Protection Resistance to thorn, glass, rim, and pinch damage Thicker-wall and reinforced butyl tubes generally tolerate abrasion and installation mistakes well. They can still suffer punctures from sharp objects or pinch flats when tire pressure is too low. TPU has good resistance to many small punctures relative to its low weight, but thin sections can be more sensitive to sharp edges, twisting, and pinch forces. Performance differs substantially by construction. Prioritize documented puncture testing, wall thickness, and intended riding style rather than assuming one material is always more puncture-resistant.
4Check Long-Term Durability Resistance to aging, heat, abrasion, and repeated flexing Generally forgiving during repeated tire removal and installation. It can degrade from ozone, sunlight, heat, and prolonged storage, so inspection for cracks or brittleness is important. Usually compact and resistant to many environmental-aging effects, but it can be damaged by creasing, sharp rim edges, incorrect mounting, or contact with incompatible chemicals. For frequent roadside tire changes or rough workshop handling, butyl is usually more forgiving. For weight-focused riding, protect TPU from folds and installation damage.
5Plan for Repairability Ease of fixing a puncture during a ride Can usually be repaired with a standard rubber patch kit after locating and lightly preparing the puncture area. A spare tube is still faster in many trail situations. Requires a TPU-compatible patch or adhesive system; ordinary vulcanizing patches made for butyl rubber may not bond reliably. The damaged area must be clean and dry. Choose butyl if simple, widely available field repairs are a priority. If using TPU, carry the manufacturer-specified repair patches and a compatible spare.
6Consider Air Retention Inflation frequency and pressure stability Typically loses air gradually through normal diffusion. Many riders check pressure before each ride, especially on low-pressure MTB setups. Often retains air well, but the valve area and installation quality can affect leakage. Pressure should still be checked regularly because low pressure increases rim-impact and pinch risk. Use a pressure gauge and select pressure according to rider weight, tire casing, terrain, and rim protection—not tube material alone.
7Match the Tube to the Riding Style Trail, cross-country, bikepacking, and downhill use A practical choice for aggressive trail riding, bikepacking, and riders who value low cost, easy replacement, and straightforward repairs. Heavy-duty versions add protection but increase weight. A strong option for cross-country, racing, and bikepacking when compact storage and low rotating weight matter. It requires more careful installation and a dedicated repair plan. Choose based on terrain and priorities: durability and serviceability favor butyl; low weight and packability favor TPU when fit and maintenance are handled correctly.
Important note: Weight ranges are typical estimates for one 29-inch MTB tube and are not universal specifications. Actual puncture resistance, service life, and air retention depend on tube thickness, tire casing, rim tape, tire pressure, installation quality, temperature, and riding conditions.

Choose Wall Thickness and Valve Types for Different Trail Conditions

On rocky mountain-bike trails, inner-tube wall thickness can decide whether a ride continues. A standard 0.9–1.2 mm tube suits smoother paths and reduces rotating weight. For sharp stones, roots, and repeated drops, choose a 1.5–2.0 mm reinforced wall. Thicker rubber resists pinch flats better, but it can feel slower during climbs. Use slightly higher pressure when carrying more weight, while staying within the tire’s safe range. Too much pressure can reduce grip.

Valve choice must match the rim and pump. Presta valves fit narrow rims and allow precise pressure adjustments. Their slender stems need careful tightening, especially beside rocky trail edges.

Schrader valves are wider and often easier to inflate outdoors. Measure the rim depth before buying; a valve that is too short creates needless trouble. A longer valve can work, but it may bend against the rim hole.

Inspect the tube before installation. Dust a small amount of compatible powder inside the tire, and check for trapped folds. I once rushed this step and pinched a new tube near the valve. That mistake was avoidable. Carry a spare tube, two tire levers, and a compact pump. Even thick walls can fail after a hard rim strike, and no single thickness fits every trail.

Verify Pressure Ratings, Manufacturer Limits, and Puncture Protection Data

Choosing a puncture-resistant MTB inner tube starts with pressure, not thickness. A thick tube can still fail when pressure runs too low. Read the printed pressure range carefully. Compare it with the tire sidewall and rim manufacturer’s limits. Use the lowest stated maximum. Never guess.

The 2024 ETRTO Standards Manual provides pressure and load tables for compatible tire and rim systems. These figures help reduce pinch flats, rim impacts, and pressure-related failures. A 2023 independent bicycle puncture-test database reported results in newtons under controlled conditions. That metric is more useful than “flat-proof” language. It still cannot predict every rocky trail.

Look for puncture force, sample size, tube thickness, inflation pressure, and test method. Without those details, comparisons become weak. Manufacturer limits matter more than a claimed protection layer. Some lightweight tubes allow narrow pressure windows. Others permit wider ranges, but only with approved tire sizes.

For rocky trails, begin inside the recommended range and adjust in small steps. Check pressure after a hard landing. A gauge is cheap insurance. I still find this easy to overlook. A tube may survive a thorn, then fail against the rim during one sharp compression. Record pressure, tire size, rider load, and trail conditions. That small log makes laboratory data more useful in real riding.

FAQS

What do rim codes 622, 584, and 559 mean?

These numbers show the rim diameter in millimetres. Code 622 usually matches 700c wheels. Code 584 matches 650B or 27.5-inch wheels. Code 559 usually matches 26-inch mountain-bike wheels.

Should I match only the wheel diameter?

No. Match the tube’s width range too. A 27.5 x 2.1–2.4 tube suits narrower tyres. A 27.5 x 2.8 tube is wider. An oversized tube may fold inside. A narrow tube may stretch too much.

How do I choose between Presta and Schrader valves?

Match the valve to the rim hole and pump. Presta valves need smaller drilled holes. Schrader valves need larger openings. Check the rim carefully. It is easy to miss.

What valve length should I choose?

Measure the rim depth before buying. Deep rims may need longer valves. A short valve can be difficult to inflate. An overly long valve may bend near the rim hole.

What tube thickness suits rocky trails?

A 0.9–1.2 mm tube suits smoother paths and weighs less. A 1.5–2.0 mm reinforced tube handles sharp stones, roots, and hard impacts better. Thick walls add rotating weight. Climbs may feel slower.

Does a puncture-resistant tube prevent every flat?

No. It only reduces some puncture risks. A hard rim strike can still damage it. Pinch flats remain possible. Nothing is perfect here.

How should I install a new inner tube?

Inflate it slightly before fitting the tyre. Check that no tube section sits beneath the tyre bead. Look near the valve. I once rushed this step and pinched a new tube.

How should I adjust pressure for different trails?

Increase pressure slightly with heavier loads, while staying within the tyre’s safe range. Too little pressure invites rim impacts. Too much pressure reduces grip on loose ground. My own setting still changes with rider weight and trail conditions.

What tools and checks should I carry on a trail ride?

Carry a spare tube, two tyre levers, and a compact pump. Inspect the tube for folds, dust, or damage before installation. Keep the size marking visible during storage. Old packaging can become confusing.

Conclusion

Choosing the right Puncture resistant MTB inner tubes can improve ride comfort, reliability, and trail performance. Start by matching the tube to your wheel’s ETRTO rim code: 622 mm, 584 mm, or 559 mm. Then confirm that its width range suits your tire, especially common 2.1–2.5-inch mountain bike sizes. A properly matched tube reduces folding, stretching, and the risk of pinching during impacts.

When comparing materials, butyl tubes generally offer dependable durability and easier field repairs, while TPU tubes are lighter and more compact but may require specific patches and careful installation. Consider wall thickness according to your riding conditions: thinner designs reduce weight, while thicker walls provide added protection on rocky or rough terrain. Select the valve type and length that fit your rim, and always check the recommended pressure range. Finally, review the manufacturer’s pressure limits and available puncture-protection information to ensure the tube matches your weight, tire setup, and typical trail demands.

Oliver

Oliver

Oliver is a professional marketing specialist with a strong understanding of product strategy, customer needs, and digital communication. As a valued member of our team, he combines practical market insight with a detailed knowledge of the company’s products, services, and operating principles. His......